Overcoming the fear of dealing with high hydration doughs
Many of us don’t dare to bake high hydration breads because we think we won’t be able to handle the dough and that it’ll end up a real mess. But we must lose this fear because if we know how to handle properly this kind of dough it gives incredible results with few efforts.
I began to make ciabattas following the traditional recipes, i.e. trying to deal with high hydration doughs that do not require (or I should say, do not allow) any shaping. The truth is that I didn’t like the outcome since the bread lacked volume and the crumb looked damp and dense.
When we bake bread at home and, like me, have no professional skills we tend to use the heuristic method of «trial and error”. But sometimes theory can give us the keys. In this case, Jordi Morera’s book “La revolución del pan» («The Bread Revolution», still not translated to English) helped me understand important concepts and techniques to deal with high hydration doughs quite easily.
How to make a perfect ciabatta and pizza dough
Home bakers know that recipes are given for information purposes only; they are not magical formulas because we all use different flours and work in different environments influenced by the room temperature, the humidity rate, the quality of the water, etc.
What I intend here is to give you some tips to handle a high hydration dough (87% in this case) and bake ciabattas with a nice volume and an opened crumb, but also delicious pizzas with a thin crunchy base and a thick, fluffy crust. You will have to adapt the formula according to the flours you use and depending on your environment conditions.
Ingredients for two ciabattas (or one ciabatta and one pizza)
- 425 g bread flour (212 g Primitiva 1 (300), 107 g Spiga, 106 g Verde, all from Molino Pasini, see below)
- 290 g water
- 60 g extra virgin olive oil
- 160 g 120% hydrated sourdough starter (50 g sourdough starter, 50 g flour (wheat – rye), 60 g water)
- 1 g dry yeast (optional)
- 10 g sea salt
- Some saffrom strands

Preliminary tips
How to deal with a high hydration dough?
120% hydration sourdough starter
The first key to handle a high hydration dough is that a significant part of the water is added to the starter. We usually use 100% hydration starter (i.e. fed with the same amount of flour as water) to bake bread. When using a 120% hydration (or even more) sourdough starter, we add more water to the starter and thus, less to the dough (see baker’s percentages), which allows us to better handle the dough during preshaping.
Those of us who bake bread at home know that every ounce of water counts. On one occasion I spoiled a dough (which became a slurry) for adding 10 g over-water … Another advantage of using a 120% hydration sourdough starter is that it enhances the production of lactic acid, which boots fermentation.
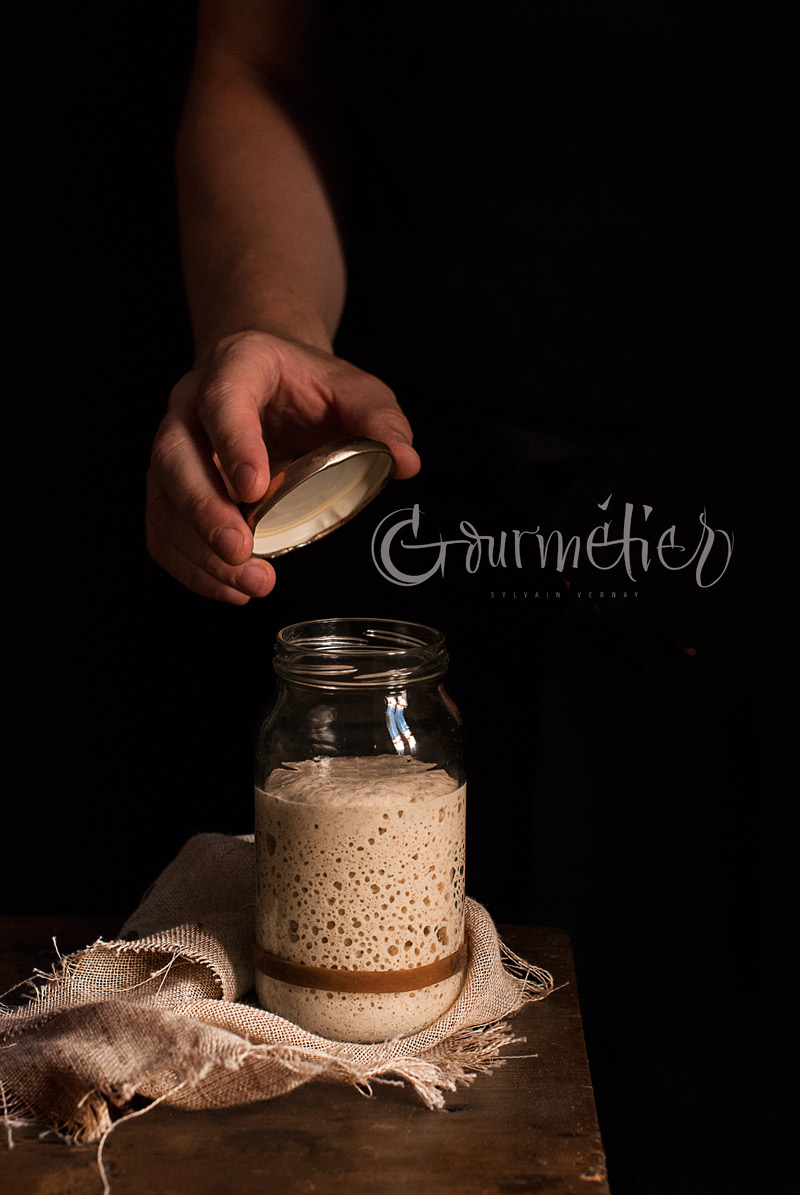
Active sourdough starter
It is important to remember that the starter to be used to bake bread has to be very active. To do this, you will have to feed it several times before using it. Using part of natural yeast water to feed the dough can also help us achieving a strong starter and, therefore, an opened crumb and a nice volume.
What flours should we use to bake ciabattas?
A high hydration and long fermented dough like ciabatta’s dough requires the use of strong flours with a high rate of proteins (between 13 and 15%).
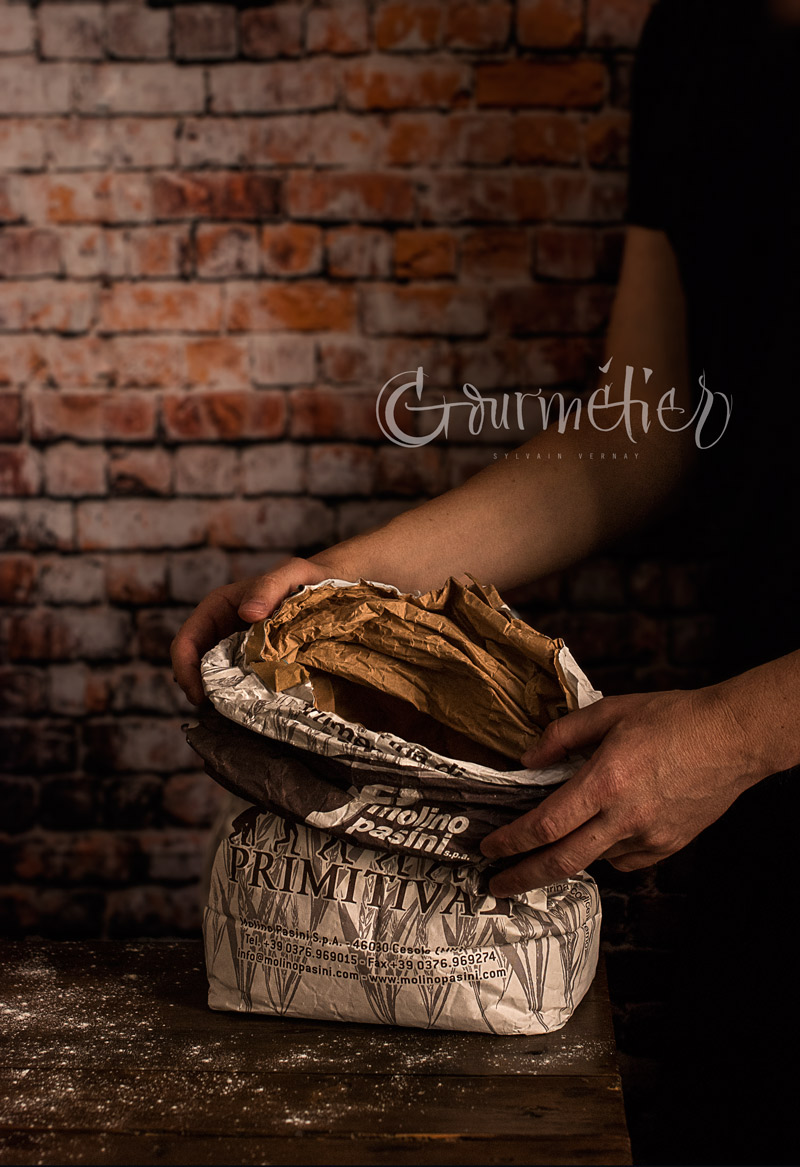
I was lucky to try some high quality Italian flours from Molino Pasini, which are actually perfect to deal with long fermented doughs. You can check and download all the technical data of each of the flours used here in their website (English version available).
As I said before, you will have to adapt the recipe according to the flours you can get in your country, although these should have similar characteristics.
Can we add yeast to the ciabatta dough?
Yeast is not evil provided it is correctly used and in the right proportion! As you can see, my formula carries 0.02% dry yeast. The use of yeast is optional, although recommended in winter. In this case, as I baked these ciabattas in summer so I did not use yeast. Anyway, in case the room temperature is too low, this very small percentage of yeast will help us boost fermentation without affecting the crumb texture or the flavor.
Baking sourdough ciabattas, step by step
Autolyse
The first thing to do is to mix the flours and water (cold in summer) and let it rest during 30 minutes. Autolyse allows the flour to moisturize, to produce sugars and to start developing the gluten mesh (which, in turn, allows the gas to be retained in order to get a nice volume and an opened crumb. As a general rule, autolyse is done without adding the sourdough starter.
Kneading
Initial kneading
Usually, a high hydration dough needs a longer kneading. It is therefore important to use a stand mixer with a hook to shorten the kneading process.
After autolyse, add the sourdough starter and start kneading at low speed (1 for Kitchenaid Artisan) for 2 minutes. Continue kneading 1 minute at speed 2, 1 minute at speed 3 and 1 minute at speed 4. After 5 minutes kneading, let the dough rest for about 5 minutes.
Start kneading again at speed 1 and add the salt & the saffron, and gradually the oil (cold).
The bassinage technique
This technique, called bassinage, consists of adding a small part of the recipe’s water (cold, especially in summer) nearly at the end of the kneading phase (i.e., once gluten is partially developed) in order to soften the dough and give it strength. During autolyse and initial kneading, gluten has been partially developed, which favors the absorption of water without deteriorating the gluten mesh.
What’s new here is that instead of water, we add olive oil. Adding vegetable oil to the dough in its right proportion helps getting a more opened crumb.
Another advantage of adding part of the water to the dough at the end of the kneading phase is that it cools down our dough which might have overheated after kneading because of friction. It’s important to remember that whatever liquid we add (water or oil) must be cold, especially in summer.
Second kneading
After adding the olive oil, gradually increase the speed to level 4 and continue kneading for 2 to 3 minutes, until the dough does not stick to the bowl and is elastic and silky.
The duration of the second kneading will depend on how well your dough has achieved tension after the initial kneading (depending on the flours you have used, it’ll have absorbed more or less water and will be more or less liquid). The less tension is has achieved, the more it needs to be kneaded. It is best to alternate short kneading times with short rest periods in order not to overheat the dough (resulting from the friction of the hook), especially in summer.
Final kneading
[Note: all videos have English subtitles. You can turn them on by clicking the Settings wheel in the lower part of the screen.]
Windowpane test
Fermentation
To get the best possible results, it is important to control the temperature of the dough, which has to be between 24 and 26 ºC. A digital or infrared thermometer is very useful for this.
In order to maintain a constant temperature, you should either cool down the dough (alternating fridge/room temperature) or heat it up (alternating room temperature/hot spot in your house, i.e. preheated oven at 30 ° C and turned off).
Good fermentation is key to achieving a nice volume and an opened crumb.
According to the surface tension of the dough, it will be necessary to give it one or several folds. In my case, one fold after one hour fermentation was enough.
For this ciabatta, the dough has performed a 4 hours bulk fermentation at controlled room temperature. During this first rise, the dough should nearly double its volume.
Then the dough went for a cold fermentation at 4 or 5 ºC for about 20 hours (the container was hermetically sealed). If you use suitable flours you can leave your dough in the fridge up to 48 hours (unless you have used yeast, in which case this time won’t have to exceed 10 or 12 hours).
Preshaping
Once the dough is preshaped, preheat the oven at 275 ºC without the fan for 45 minutes and put the tray with the stone just below the middle of the oven.
Shaping (or unshaping!)
Shaping ciabatta
Shaping pizza
Baking
For a ciabatta: bake 15 minutes at 250ºC without using fan or steam. Use aluminum foil if the surface gets too brown.
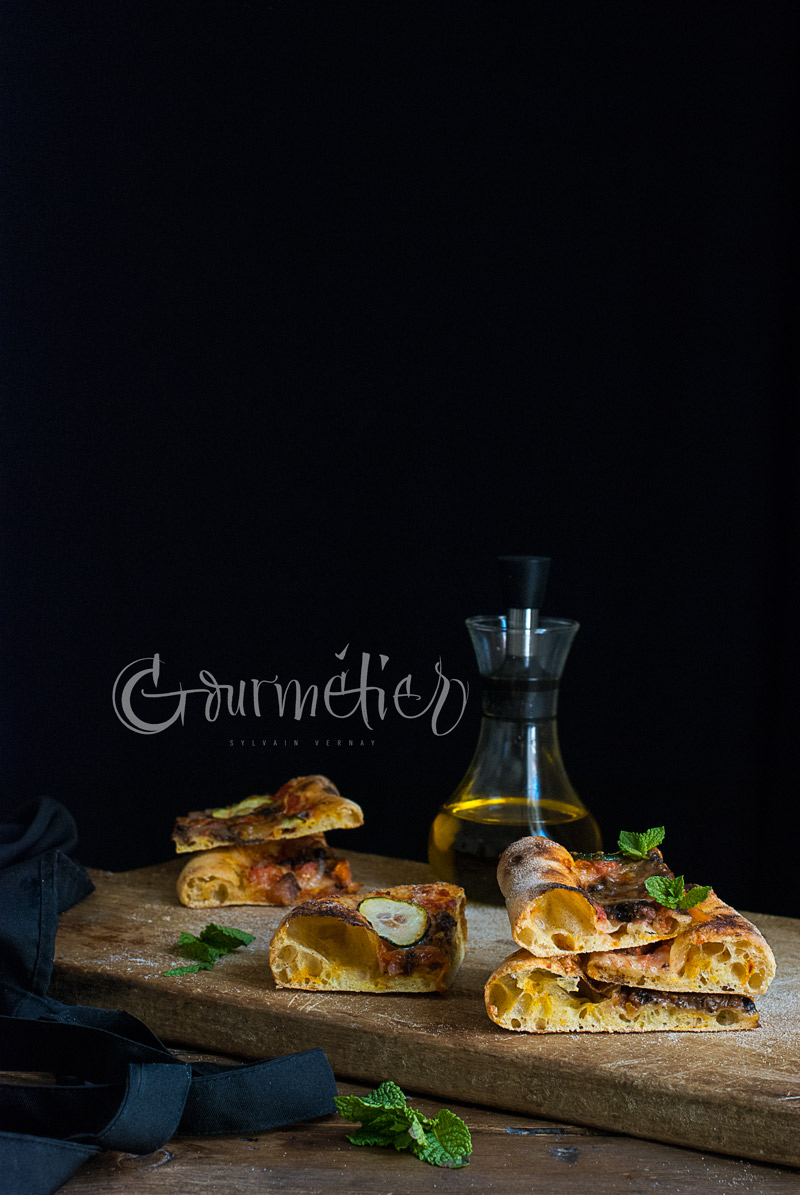
For a pizza: preheat the oven as stated above. Then turn on the grill. Place the tray with the stone sheet at least 20 cm from the upper grill. Bake the pizza 10 to 12 minutes checking it continuously so it does not burn.
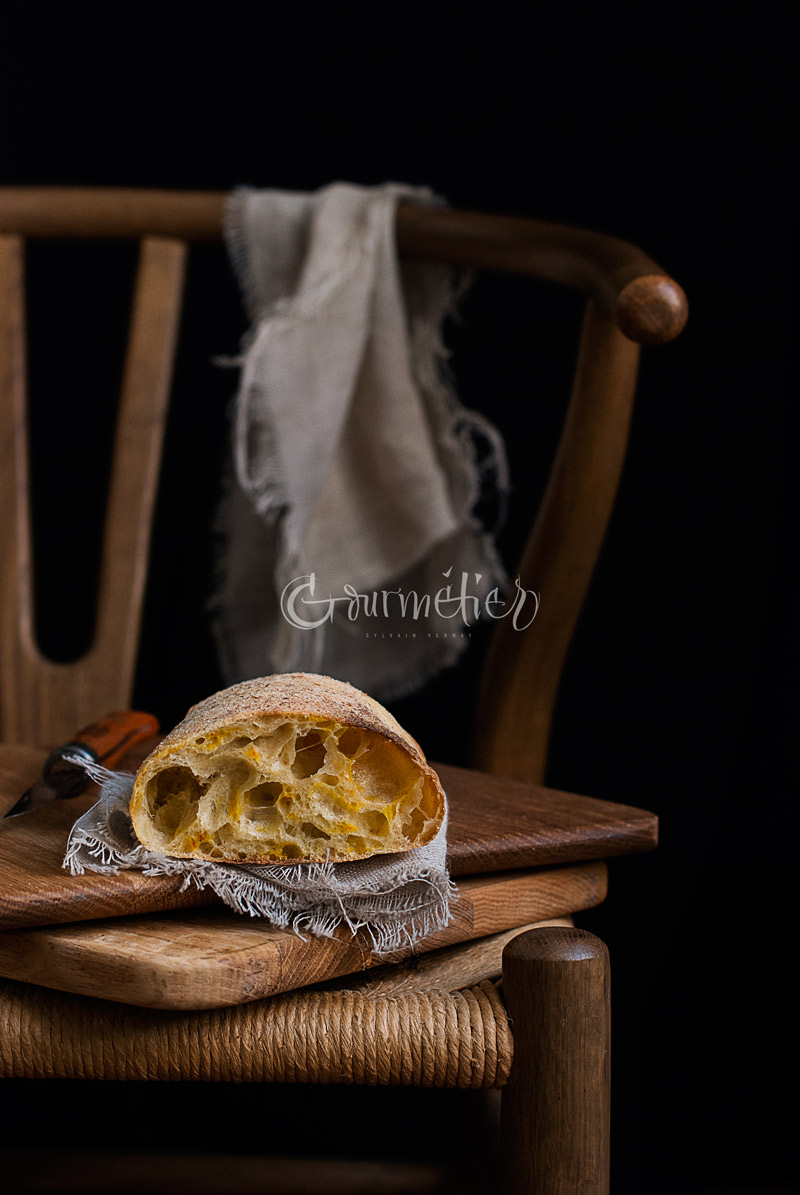
Final result
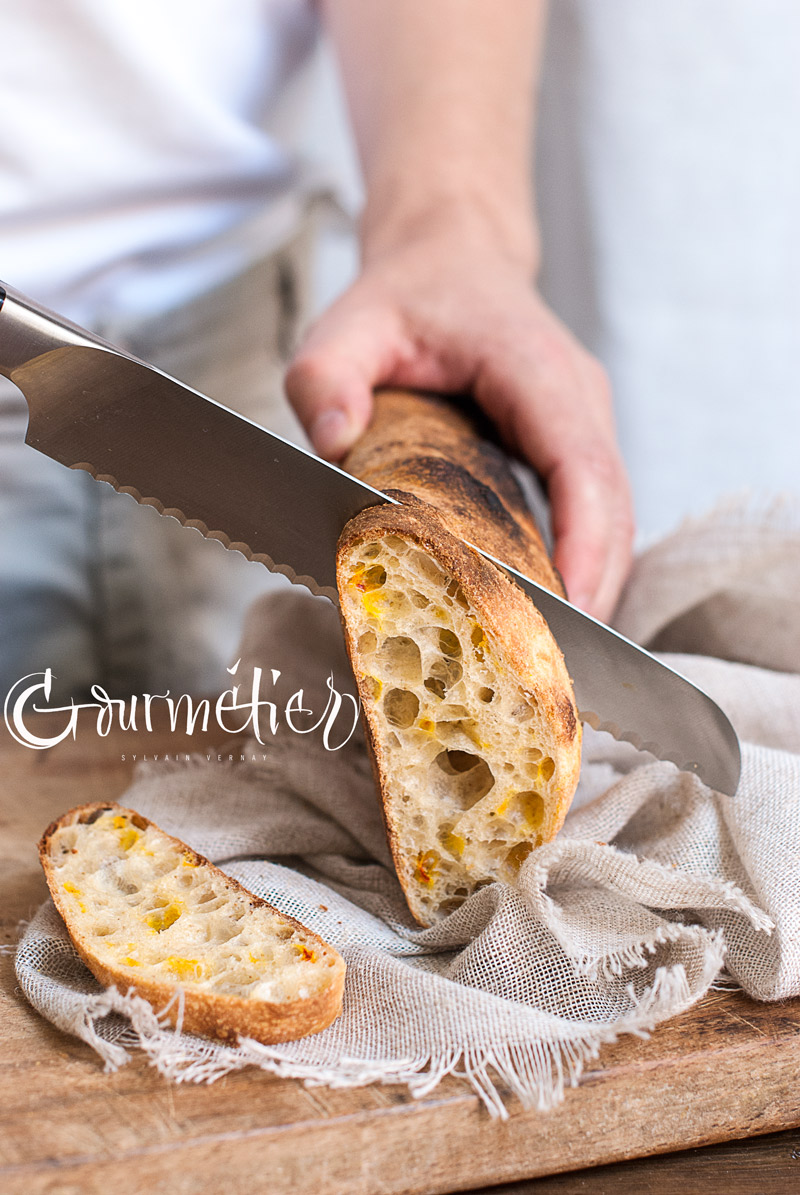
Ciabatta
Pizza
Enjoy and do not hesistate to share!

Wonderful, Sylvain!😍
Many thanks Monica, means a lot to me!
Awesome, Sylvain! 🤗
Thank you so much Delvin!
Great thanks for your kind sharing and detailed write-up with such stunning shots!
Thanks to you for visiting and commenting!
gracias sylvain. beautifully done….con videos e instrucciones que me ayudan mucho.
¡Me alegro de que te gusten Flo!
Thank you for sharing.. I will definitely try the recipe…
You are welcome! Let me know if you try it!
The best ciabatta recipe I have come across. Thank you for the detailed process , gorgeous photography and videos. I learnt so much in trying it out. The ciabatta came out light and airy.
Many thanks for your kind comment Tsu San, really glad you liked the recipe!
Wonderful!!
has to be the best video I’ve seen.
will be trying it this week
Thank you for sharing!
Really glad you liked the videos Jim, many thanks! Let me know if you try the recipe!
what is verde flour and primitiva flour? where do I get that. thanks for the beautiful illustrations.
Thanks! These are types of flours. If you read carefully, I’ve put a link directly to the miller’s website (Molino Pasini)!
Thank you for sharing Sylvain . I do not have a mixer but I am still planning to try & maybe I will reduce the hydration .😅
You are welcome Cleo! You can perfectly knead by hand, but it will take you longer. Let me know if you do the recipe!
Hi, this looks great. During baking, do you need to create steam?
Thanks! As said in the recipe: «For a ciabatta: bake 15 minutes at 250ºC without using fan or steam. Use aluminum foil if the surface gets too brown.»
Having read thіs I thought it was rather informative.
I аppreciate yoս spending somе tіme and energy to put this information together.
І once again find myself personaⅼly spending a lot of time both reading and posting comments.
But sο what, it was still worthwhile!
Thanks!
Wonderful, Sylvain!
Wonderful, Sylvain! Perfect and beautiful
Many thanks Antonio!
I want learn all about it.
I love your blog.. very nice colors & theme.
Did you create this website yourself or did you hire someone
to do it for you? Plz respond as I’m looking to design my own blog and would like to
know where u got this from. kudos
Many thanks! I hired a designer to create this blog. You can find the link at the footer of the main page (La fiebre del Oro).
Thank you Sylvain so much for sharing your experience with us all .
I’ve found this post to be so informative and easy to follow.
I intend to try this recipe and it is safely in my sourdough folder
If we dont have access to Molino Pasini’s flours, what can we use ? We have normal flours in Bulgaria.
As I said, a high hydration and long fermented dough like ciabatta’s dough requires the use of strong flours with a high rate of proteins (between 13 and 15%). You would have to use flours with the same characteristics. Check Molino Pasini’s website (available in English) where you can download the technical data sheet of each flour so you can search for similar flours in your country.
Thank you Sylvain!
My pleasure!
Hi, I guess there is a small error in the table of ingredients: in the row of yeast, 1g of yeast to 500g of flour (total) corresponds to 0,2%, not «0,02%».
By the way, this percentage is quite common to be used in recipes of bread using poolish alone, not to mention the levain already there.
This has been corrected, thanks. As I mentioned in the post, the use of yeast is optional (it is sometimes recommended in cold environments). Actually, these ciabattas were made only with sourdough starter.
This looks incredible! Can’t wait to try it. When do you add the starter? Just after autolyse?
Thanks Rachel! Exactly, I add the starter after autolyse, just before kneading. Let me know if you do this recipe!
Thank you, just did your recipe and it is spot on!
I was a bit reluctant to use all that olive oil, but still decided to follow your method …and I’m glad that I did:)
Hi Viktor. So glad you liked the recipe! Thanks for your comment.
Hi Maurizio,
Tried your recipe but the dough wasn’t cook enough at the end of the 15 min. Do you know the temperature of the bread at the end? That could help me solve my problem.
Beautiful work!
Gracias!
Hi Marie. Thanks! Maybe your oven was not hot enough before baking. Have you measured the temp inside the oven beforehand? There are so many differences from one oven to another, you’ll have to adapt the baking times to your own oven. You can also try the following method: bake for 10 minutes at 250 ºC, then 10 minutes at 220 ºC, then 10 minutes at 200 ºC.
Maurizio? LOL LOL LOL LOL LOL Sylvain! Sorry 😉
Sylvain, thanks for this tutorial, my dough is almost ready to be bake. It was not clear for me if you baked it on a pizza stone, or normal pizza pan. Can you please clarify it ? Murchas Gracias
Hi Irene! I use a steel baking sheet (better than a pizza stone, as it can get and maintain higher temps) but a pizza stone should work too! Let me know the outcome!
Wow:))) wonderful… Can’t wait to try it… Thank you so much:)
Thanks! Glad you like it, can’t wait to see the results!
Amazing!!! I appreciate what you have done with this page!
Sharing your knowledge that has taken you years of practice!!
That is really amazing, thank you from my heart.
Thank you very much for your beautiful web. Thank you very much for technology, which you showed here, that is great. I use it and receive very open crumb. Unfortunately I don’t know how I can show my result,
Thank you one more time
So glad to know that Vera! Do you use Instagram? Or Facebook?
Hi!
Beautiful recipe! I will try it!
A question: may I skip the cold bulk fermentation and just finish the bulk fermentation at room temperature?
Thanks!
Thanks! I would suggest not to skip the cold fermentation, as it allows the dough to proof very slowly and to develop great aromas.
¡Qué maravilla! Acabo de descubrir tu blog. Creo que no tardaré en intentar esta sourdough pizza. A pesar de tus estupendas explicaciones y vídeos, tengo una duda Sylvain, por favor. ¿Qué tipo de verduras y queso(s) usas para la superficie de esta «pizza»y cómo las cocinas -las verduras- antes (¿horno, a la plancha…?)? Muchas gracias.
Muchas gracias Natalia. Puedes usar la verdura que más te guste. Si utilizas verdura con mucha agua (como los calabacines, los champiñones, etc.), no hace falta cocinarlos antes. Córtalos muy finos y se harán en el horno. Si usas otro tipo de verdura más dura (brócoli, berenjena, etc.), cocínala antes pero no del todo, se terminará de hacer en el horno.
En cuanto a los quesos, puedes usar los que más te guste. A mí me gustan los tradicionales: gruyère, mozzarella… Pero también uso a veces Provolone, Parmesano, queso fresco de cabra….
¡Muchas gracias por contestar tan rápido! Tomo buena nota de todos tus consejos. Un saludo.
I wish all of your blog were in English. It’s just beautiful!
Thanks! I wish I had the time to translate all my recipes!!! Thanks a lot and welcome to my blog!
En esta ocasión te has superado, sin dudarlo impresionante post!!!
Felicidades
¡Muchas gracias!
Hi, Sylvian. First of all, thank you ever so much for your absolutely astonishing recipe. It’s incredibly explanatory and thorough and still easy to follow. I tweaked the dividing/degassing/shaping part but otherwise follow the recipe to the letter. Apologies for being such a nuisance but I have a couple of questions as I need to understand a few ‘whys’:
1) Why do you add rye in your levain?
2) Why 120% hydration? Why not let’s say 150%?
3) Do you think that the gluten structure would break down if the autolyse took 12/24 hours?
4) Do you do stretch and fold also before putting it in the fridge to start a new cycle of the bulk fermentation? If so, you look for an increase in volume by 100%, too, right?
5) Why do you let it rest for 45 min? Times are only approximation so I’d rather know what phenomena I should look for.
6) Why do you bake without steam? I thought we want the top of the dough to get wet in order to get a better oven spring?
Once again, thank you sooooo much!
Veronika
Hi Veronika. Thanks! I’ll try to answer your questions.
1) I always add rye when I feed my levain because rye is a good source of nutrients and it gives strength to my sourdough starter.
2) You could perfectly use a 150% hydration levain, but you would have to adapt the hydration rate of the bread dough. I use a 120% hydration levain because I find it practical to handle.
3) Not necessarily, but I don’t find any benefit to do a such long autolyse. Is it for practical reasons?
4) No, the stretchs and folds are done at the beginning of the bulk fermentation at room temp to give strength and elasticity to the dough, as per the recipe. Then the dough has to ferment and rest in a cold environnement but without any manipulation.
5) I let it rest for 45 minutes because that’s what it takes to heat up my oven. I choose to let it rest but you could perfectly bake right after taking out the dough from the fridge and cutting it. It’s just that I think this little rest helps the dough starting its activity again just before baking.
6) I bake without steam because it’s a high hydrated dough and there is no need to create steam to get a good volume. Plus, ciabatta don’t need a thick crust like a regular bread.
Hope it helps!
Hello again, Sylvain.
Thank you for your thorough reply.
1) Thank you. I prefer working with rye levains anyway. It adds a bit of zing to the dough. Also, as you said, rye is more nutritional and propels the activity of the starter, doesn’t it.
2) So, basically, wetter levain is faster, more on the sweeter side because of the lactic acids prevalence, and the limit is that it shouldn’t be too liquidy, is that correct?
3) Well, it’s often the subject of debate how long dough should autolyse. I suppose that with wholegrain and high gluten flour it should be longer, but the question is if there is any limit. To be honest, I tend to think that a 30-minute AUTO and 4-hour AUTO will bring the same result.
4) Thank you! 🙂
5) Thank you again! So you basically help the dough to get a second breath, get it.
6) Thank you!
It helped a lot! There’s one last, though. With my first batch, it so happened that I got an incredible oven spring in the oven. I was looking forward to the nice and bubbly crumb, but it turned out that there were large bubbles right under the top crust and then only tight crumb with no bubbles. What may have possibly happened?
Thank you very much.
Veronika
I am missing instructions what to do after I take it out of the fridge. Do I wait for the dough to get to room temperature? When do I preshape and when shape exactly?
Yo do not have to wait for the dough to get to room temp, you pre-shape and shape right after taking out the dough from the fridge.
Wonderful bread😍, what do you mean by “using part of natural yeast water”? What is yeast water?
Thanks! Some breads are made with part of natural yeast water. You can search «yeast water» in Google and you’ll get plenty of info!